WPC wall panels have become a popular choice for both interior and exterior wall decoration. They look modern, resist moisture, and require far less maintenance than traditional wood panels. Still, many people hesitate before installation, assuming the process is complicated. In reality, learning how to install WPC wall panels is straightforward if you follow the right steps and prepare properly.
This guide explains the installation process in plain language, based on real-world practices used by installers and contractors.
What is WPC Wall Panel?
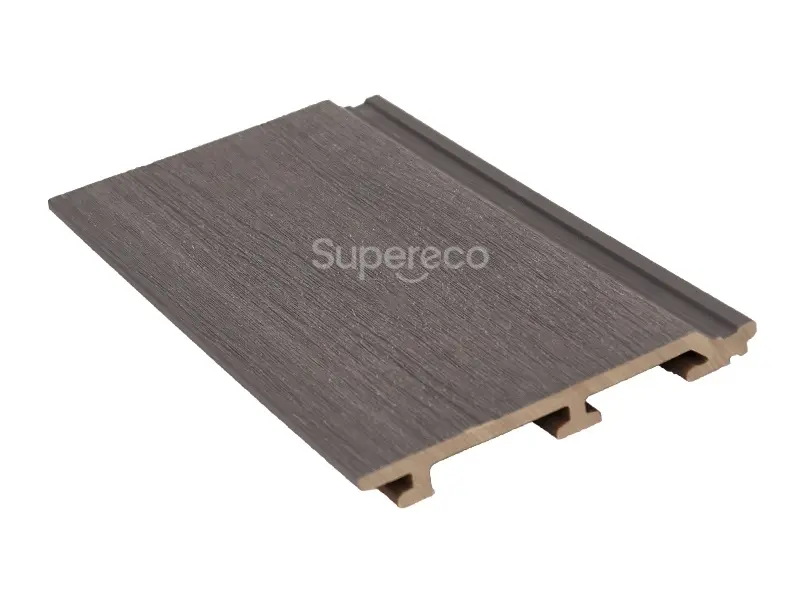
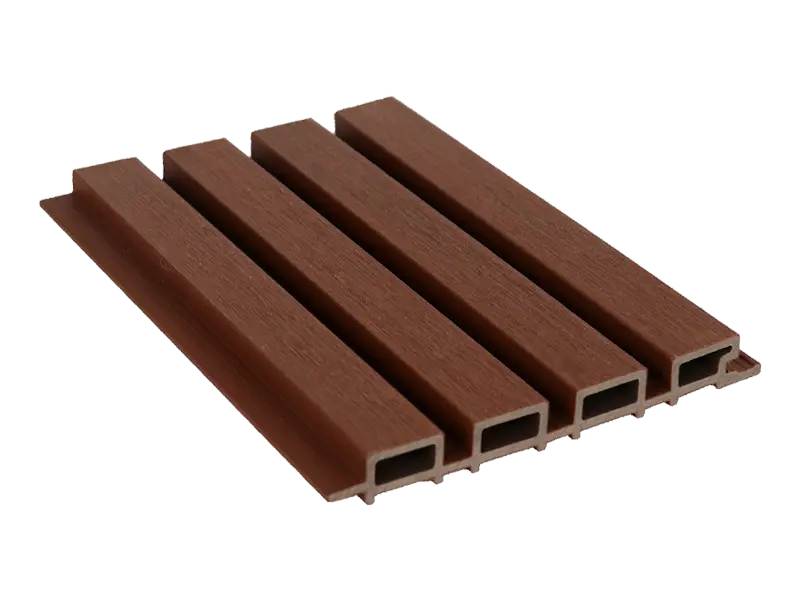
WPC stands for Wood Plastic Composite. These panels are made from a blend of wood fibers and plastic materials. The result is a product that looks like wood but performs better in damp or high-traffic environments.
WPC wall panels are commonly used in:
- Living rooms and bedrooms
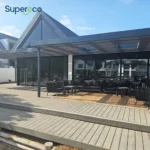
- Offices and commercial spaces
- Bathrooms and kitchens
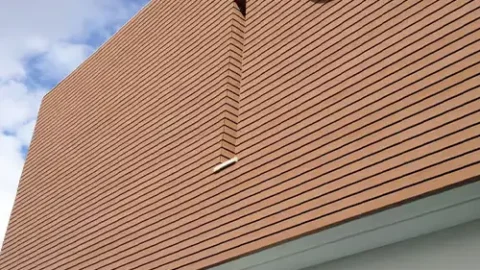
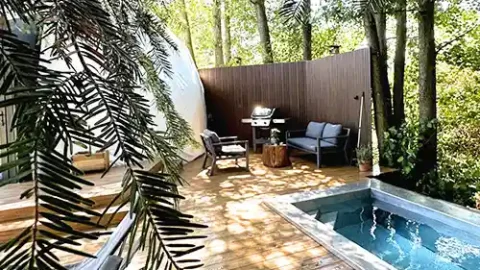
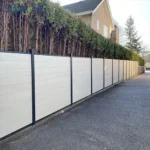
- Exterior feature walls and balconies
Before installing, it’s important to understand the surface requirements and tools needed.
Tools and Materials You Will Need
Before starting installation, gather all tools in advance. This saves time and helps avoid uneven results.
Basic Tools
- Measuring tape
- Spirit level
- Electric drill
- Screwdriver
- Rubber mallet
- Utility knife or cutting saw
Materials
- WPC wall panels
- Metal or wooden battens (keel system)
- Screws and wall plugs
- Adhesive (optional, depending on method)
- Corner trims and edge profiles
Having quality materials matters. Low-grade screws or uneven battens often cause loose panels later.
Surface Preparation: The Most Overlooked Step
A clean and stable wall is essential. Whether you install WPC wall panels indoors or outdoors, surface preparation determines long-term performance.
Check the Wall Condition
- The wall should be dry and structurally sound
- Remove peeling paint, dust, or grease
- Repair cracks or uneven areas
WPC panels should not be installed directly on severely uneven walls without a batten system.
Installing the Batten (Keel) Framework
Most professional installations use a batten system. This creates airflow, improves alignment, and prevents moisture buildup.
How to Install Battens
- Install battens vertically or horizontally, depending on panel direction
- Maintain spacing of 30–40 cm (12–16 inches) between battens
- Use a spirit level to ensure all battens are straight
- Secure battens firmly with screws and wall plugs
For exterior installations, aluminum or galvanized steel battens are recommended.
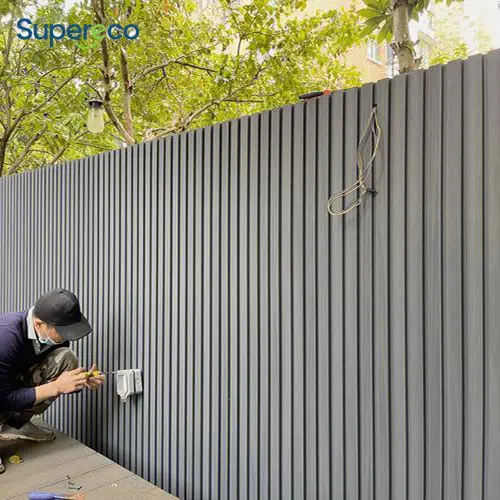
How to Install WPC Wall Panels Step by Step
Once the framework is ready, the actual panel installation is relatively simple.
Step 1: Measure and Cut Panels
Measure wall height and width carefully. Cut WPC panels to size using a fine-tooth saw. Always allow a small expansion gap (about 5 mm).
Step 2: Install the First Panel
Start from one corner of the wall. The first panel must be perfectly straight, as all other panels will follow it.
- Fix the panel to the batten using screws through the side groove
- Check alignment with a level
Step 3: Continue Panel Installation
Slide the next panel into the groove of the previous one. Gently tap with a rubber mallet if needed.
Repeat the process:
- Insert panel
- Align properly
- Fix to batten
Take your time here. Rushing often causes gaps or uneven joints.
Step 4: Install Edge Trims and Corners
Once all panels are in place, install corner trims and edge profiles. These give the wall a clean, finished look and hide expansion gaps.
Alternative Method: Adhesive Installation (Indoor Only)
For small indoor areas with flat walls, some installers use strong adhesive instead of battens.
Important Notes
- Wall must be perfectly flat
- Not recommended for bathrooms or exterior walls
- Panels are harder to remove later
While adhesive saves time, batten installation remains the more reliable method.
Common Installation Mistakes to Avoid
Even experienced installers make mistakes. Avoid these common issues:
- Skipping expansion gaps
- Installing panels on damp walls
- Uneven batten spacing
- Using low-quality screws
- Ignoring manufacturer instructions
Understanding how to install WPC wall panels correctly means paying attention to small details.
Maintenance Tips After Installation
WPC wall panels require minimal care, but a few habits extend their lifespan:
- Clean with a soft cloth and mild detergent
- Avoid abrasive cleaners
- Check screws annually for outdoor installations
With proper installation, WPC panels can last over 15 years.
FAQs
1. Can WPC wall panels be installed in bathrooms?
Yes, WPC panels are moisture-resistant and suitable for bathrooms, provided proper ventilation is available.
2. Do WPC panels expand with temperature?
Yes, slight expansion occurs. Always leave expansion gaps during installation.
3. Can I install WPC wall panels directly on tiles?
It’s possible with battens, but direct adhesive installation on tiles is not recommended.
4. Are WPC wall panels suitable for exterior walls?
Yes, but use metal battens and corrosion-resistant screws.
5. Can I cut WPC wall panels myself?
Yes, standard woodworking tools work well.
6. How long does installation take?
A standard room can usually be completed within one day.
Final Thoughts
Learning how to install WPC wall panels is not difficult, but doing it correctly makes all the difference. Proper surface preparation, accurate measurements, and a solid batten framework ensure a clean, long-lasting finish. Whether you’re a DIY homeowner or a professional installer, following these steps will help you achieve professional results without unnecessary problems later.
Related Articles
Recommended Products